


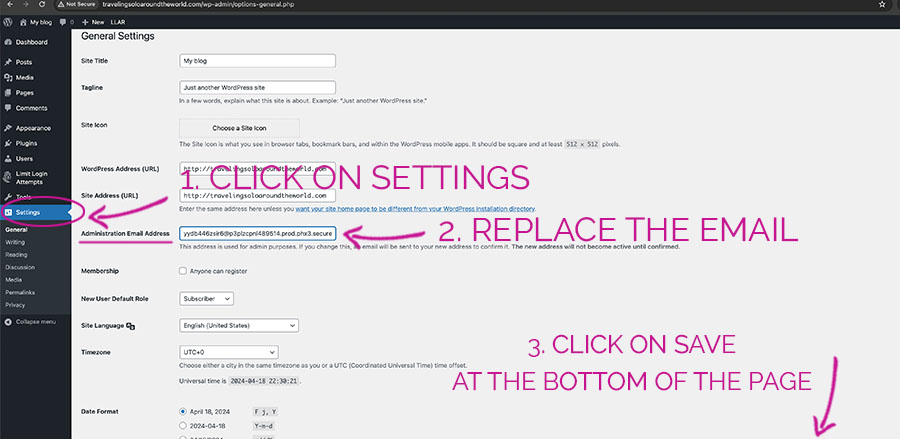


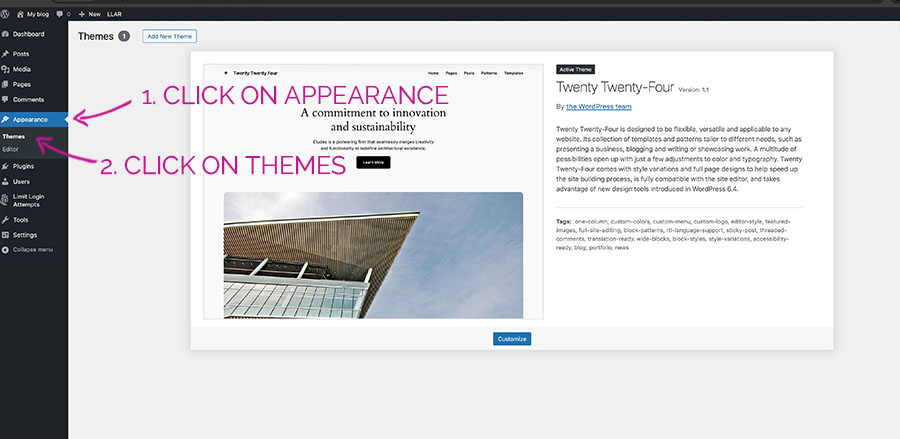


-
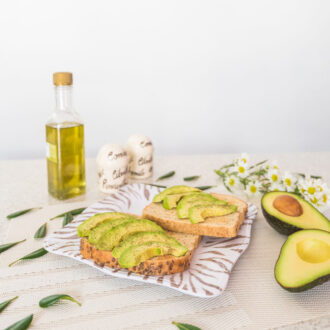
Everyday Avocado
$5.99 Add to cart -

Daily Juices Photo Collection
$9.99 Add to cart -

Pure Greens Photo Collection
$14.99 Add to cart -
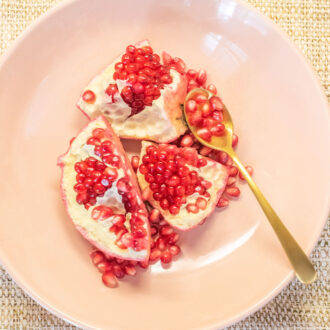
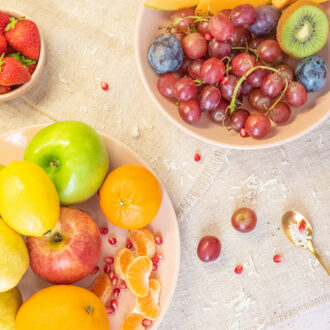
Antioxidant Glow Pomegranate Photos
$6.99 Add to cart -

Citrus Fresh Fruits Photo Collection
$12.99 Add to cart -
Eat Well Live Well Lifestyle Food Photos
$14.99 Add to cart -

European Street City Life Collection
$14.99 Add to cart -

Travel photos “The Beach and Breeze”
$14.99 Add to cart -
Sale!

How about I try. My 3C ingredients of an exciting and active life. Ebook.
Original price was: $12.00.$6.56Current price is: $6.56. Add to cart -

Aesthetic office stock photos
$9.99 Add to cart -

Podcast images “Soft touch”
$9.99 Add to cart